1. From the home screen of your device click the Find button, and then select to search.
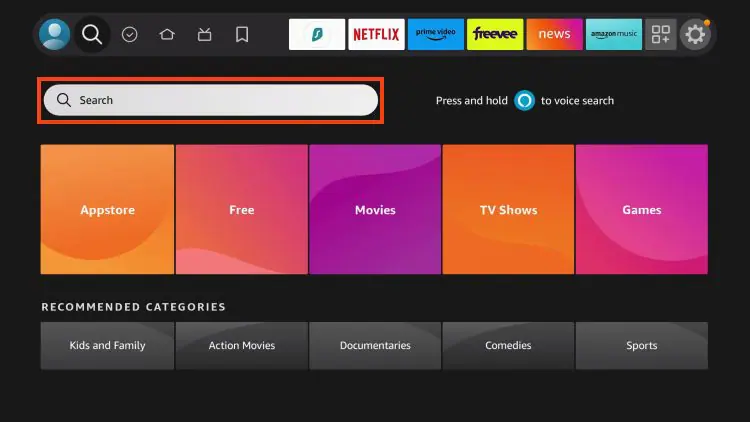
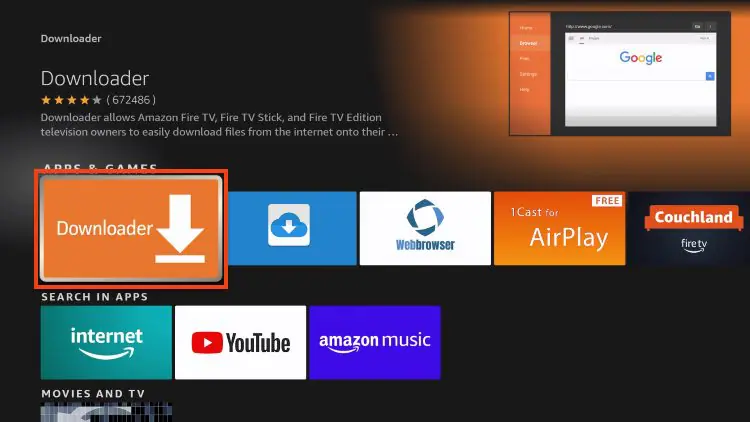
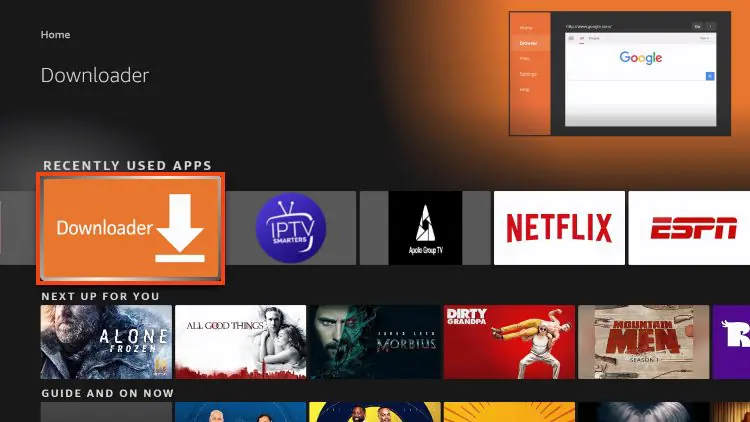
2. Search for and select Downloader.
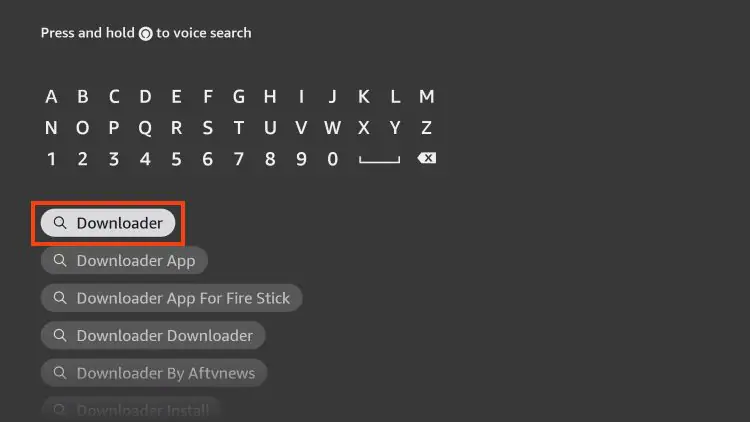
3. Select the Downloader app.
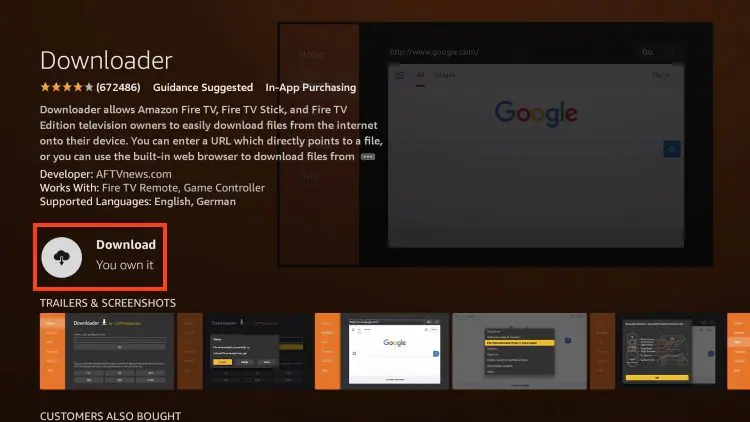
4. Click Download.
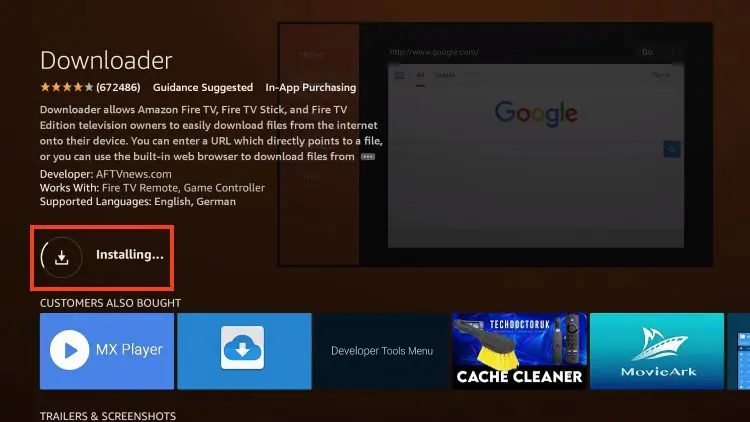
5. Wait for the application to complete the installation.
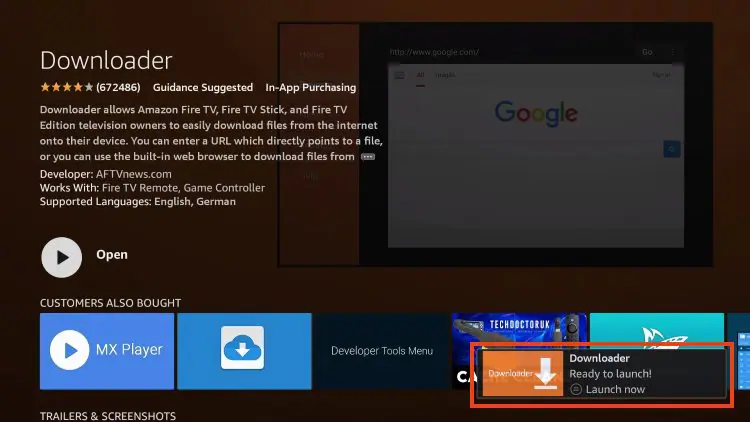
6. Next, you will see the Downloader ” Ready to Launch!” message.
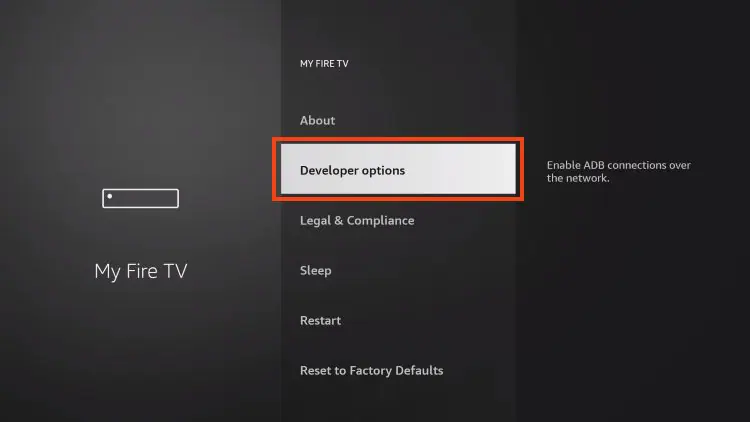
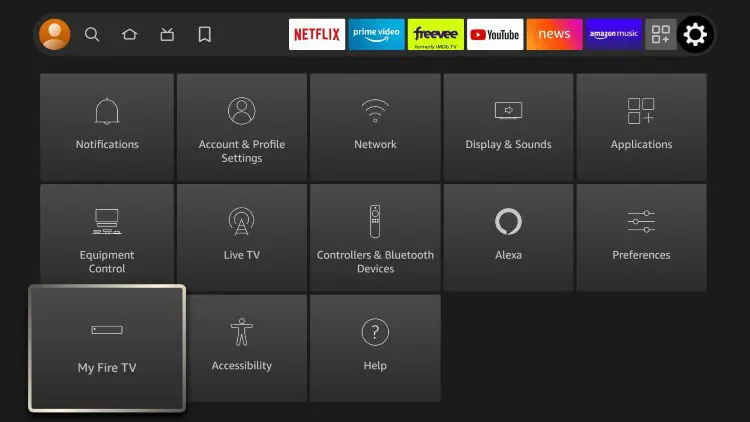
7. Go back to the main screen, hover over “Settings,” and select “My Fire TV.”

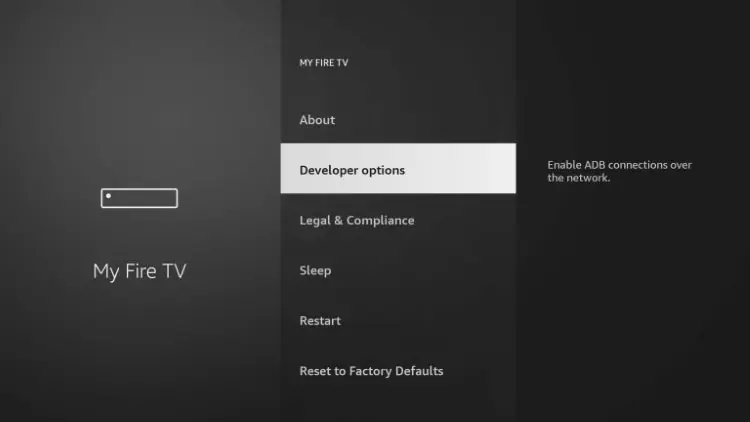
8. Select “Developer Options.”
IMPORTANT: Please see the notes below if you don’t see Developer Options on your screen.
9. Click Install unknown apps.
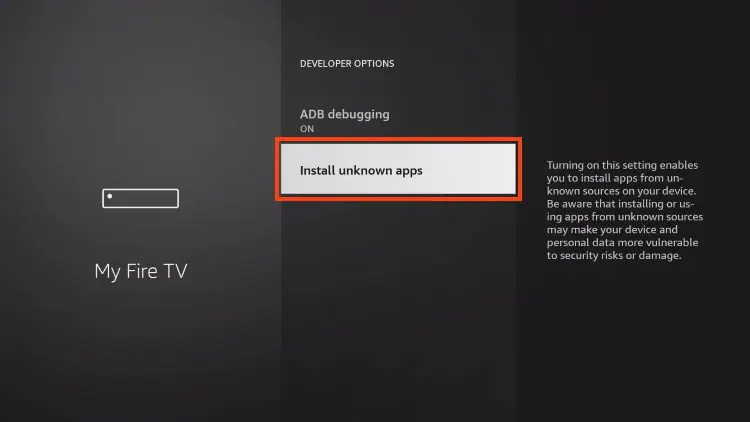
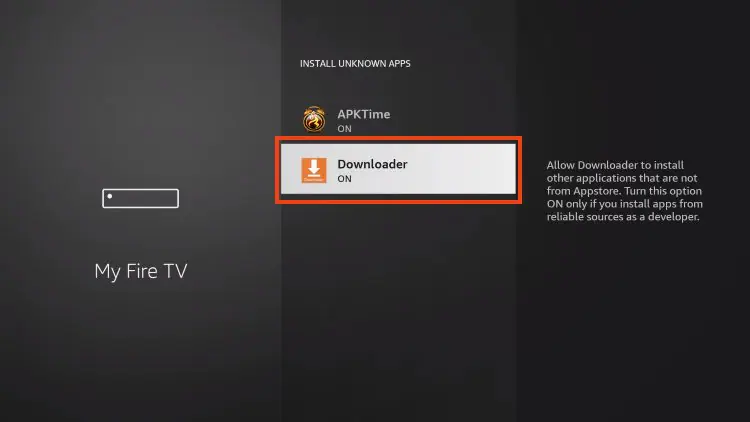
10. Locate the Downloader app and click on it.

11. This will enable “Unknown Sources” for the Downloader app, which allows side-loading to your device.
If you’re unable to find the developer options in settings, follow the steps below to allow this feature to download The Downloader App.
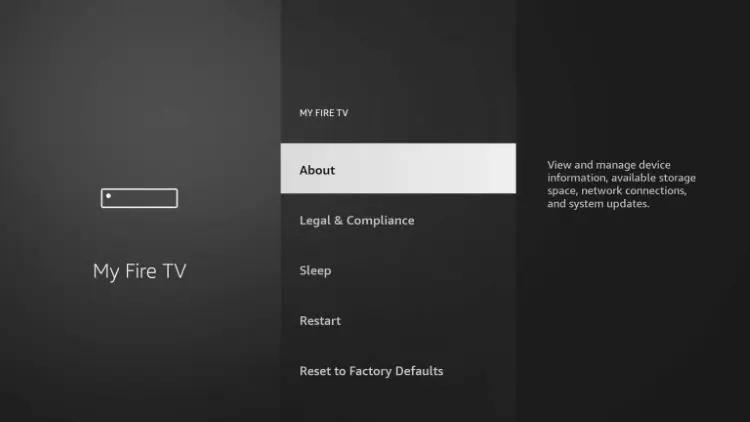
1. Move your cursor over the Settings icon and select My Fire TV.
2. Click About.
Note: Observe that the Developer Options are not visible.
3. Navigate to “Fire TV Stick,” then press the OK button on your remote seven times to enable developer mode.
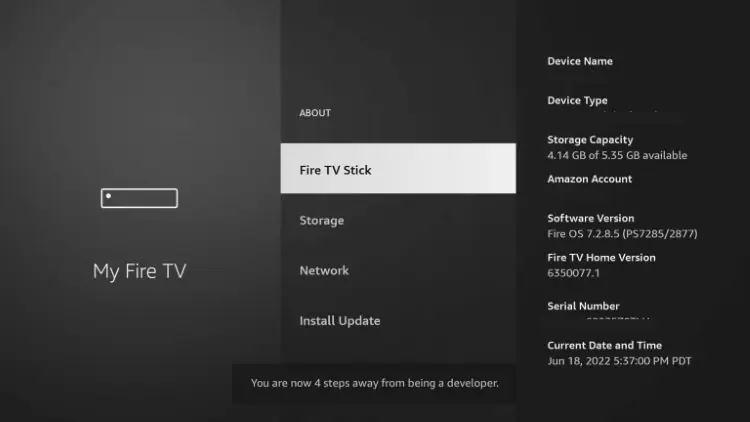
4. Click the back button on your remote, and you’ll see Developer Options now appear in My Fire TV.
Having properly configured the Firestick, let’s advance to the subsequent step.
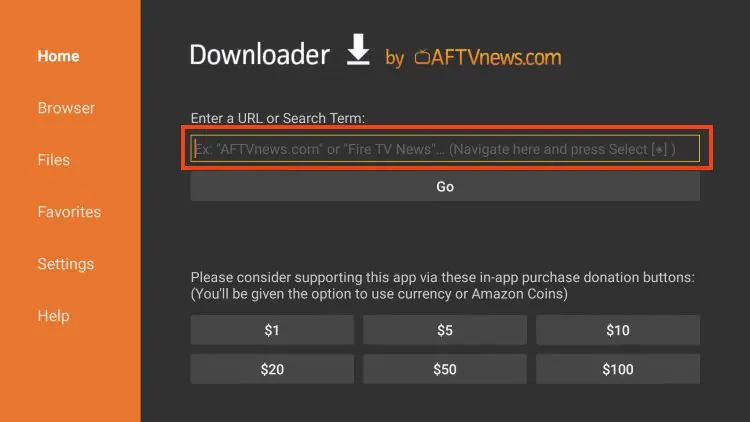
1. Open the Downloader application.
2. Click on the URL bar, then press Select on the remote.
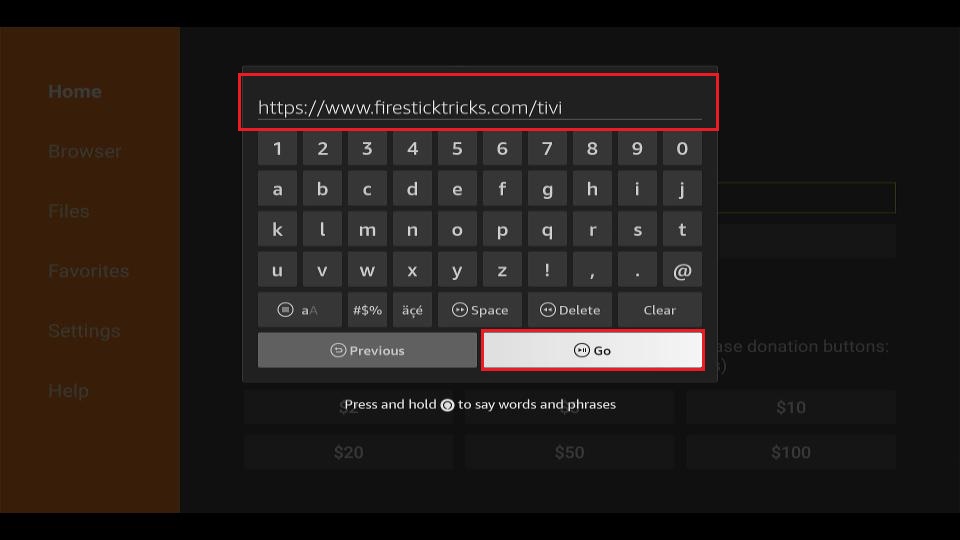
3. A virtual keyboard will appear. Enter https://www.firesticktricks.com/tivi and then press the ‘Go‘ button at the bottom.
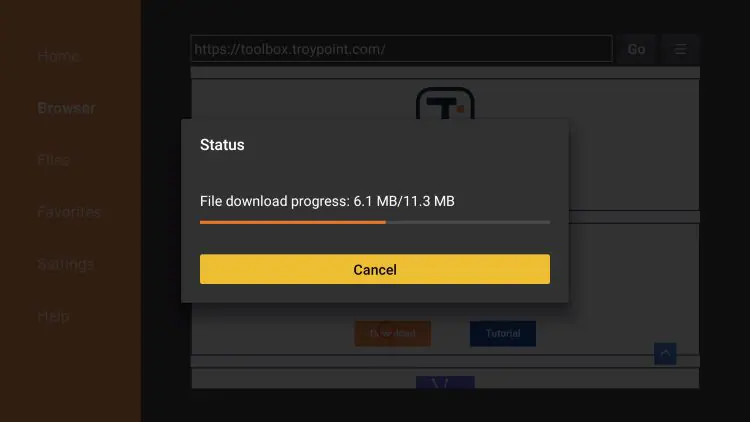
4. The Downloader will proceed to install the most recent version of the TiviMate APK on your FireStick, which is approximately 11MB in size.
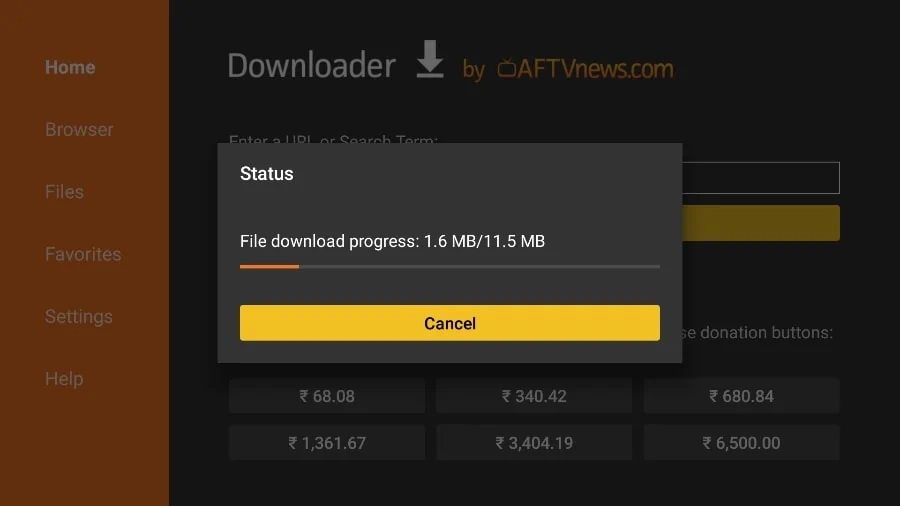
5. Wait for the app to install.
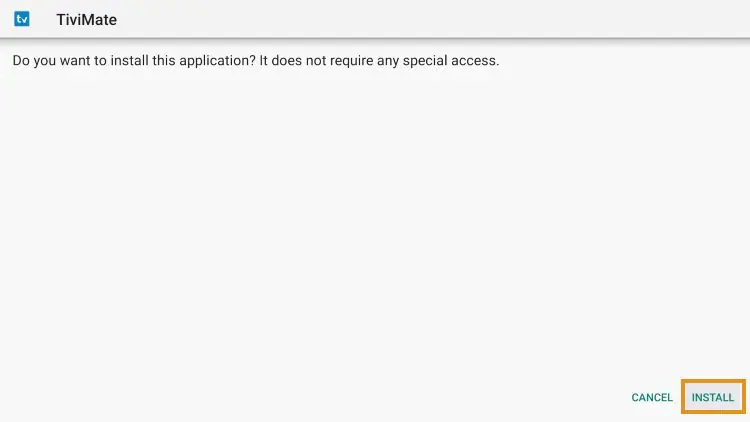
6. Click Install.
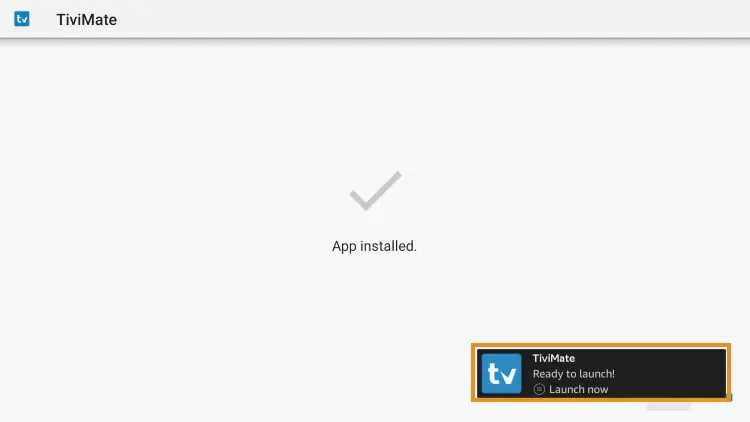
7. A message stating “TiviMate Ready to launch!” will appear. Click “Done.”
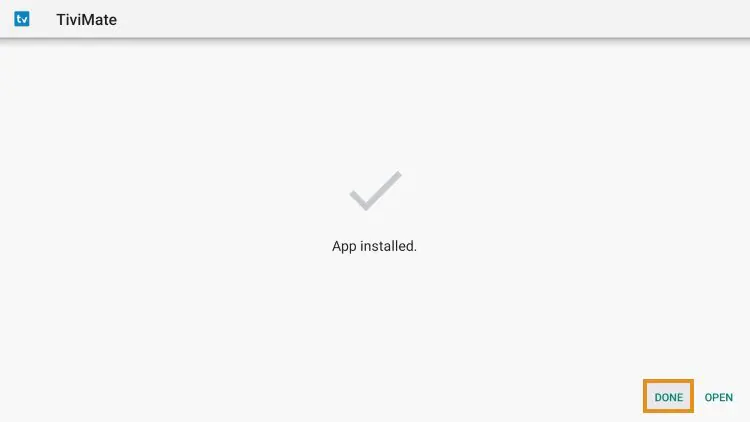
8. Click Done.
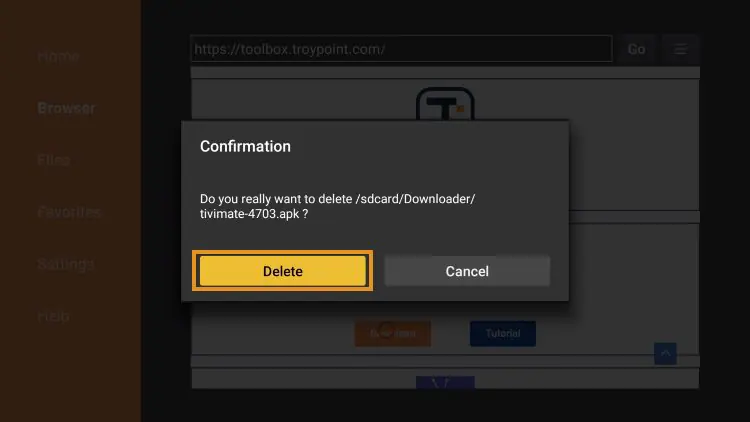
9. You’ll be redirected to the Downloader app. Click “Delete” to remove the installation file.
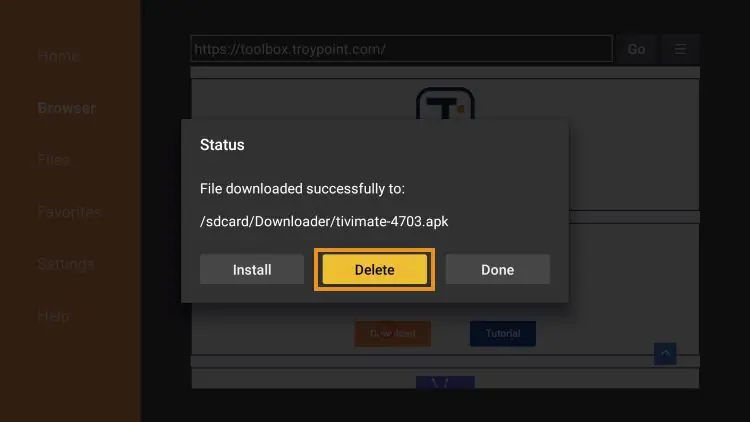
10. Click Delete again.
The installation is now successfully completed. Proceed to the next sections to learn how to configure the app on your chosen device.
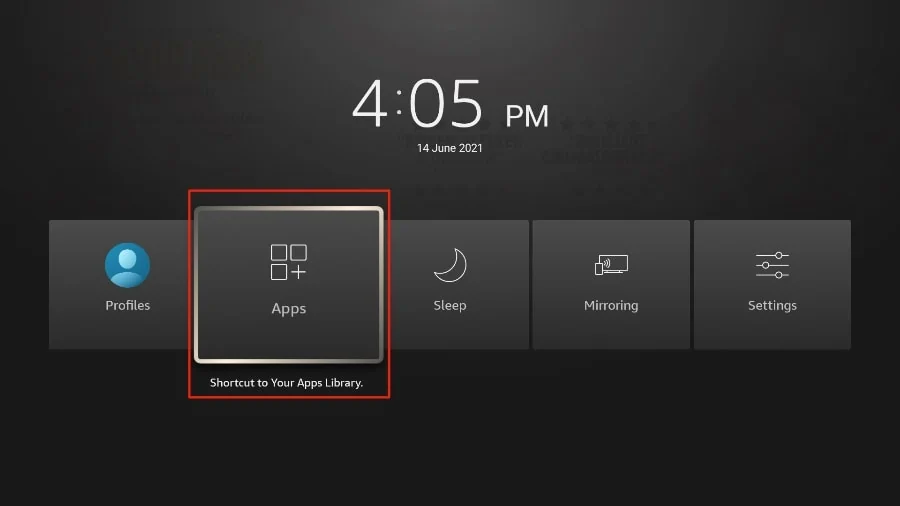
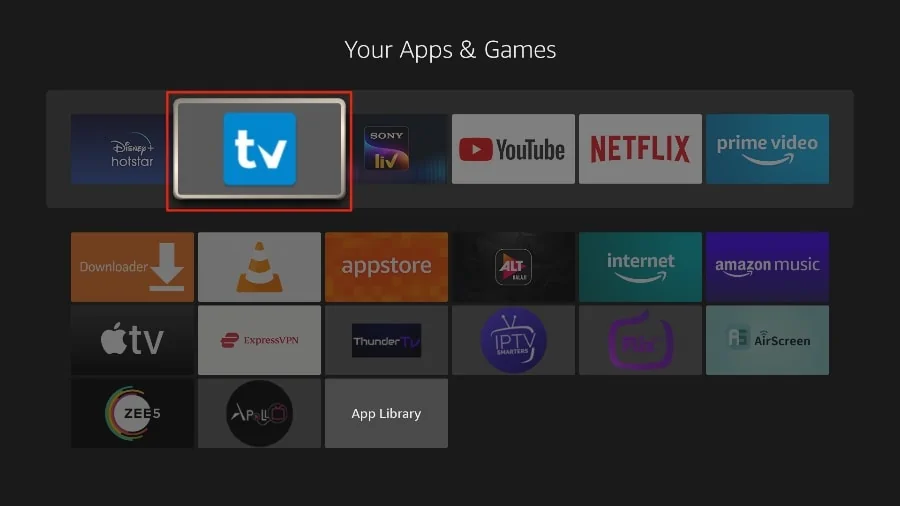
1. Press and maintain a hold on the home button of your FireStick remote. In the subsequent screen, choose the ‘Apps’ option.
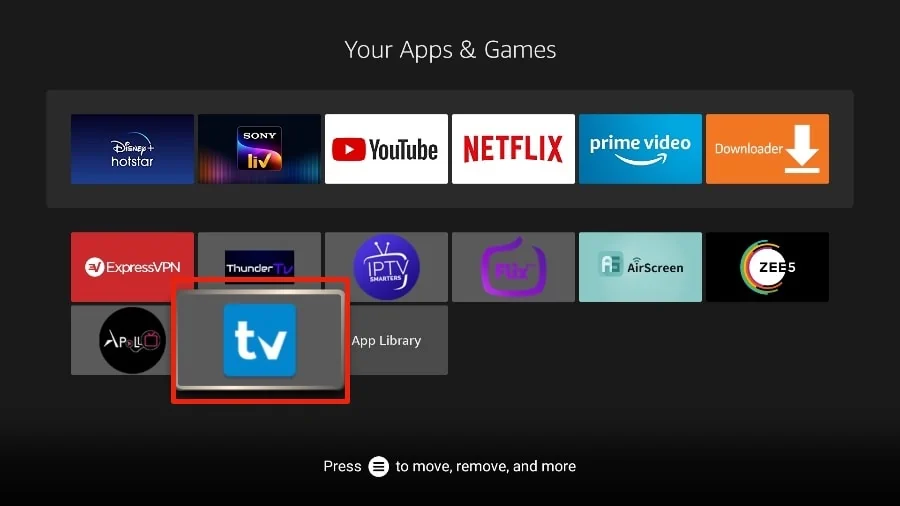
2. Navigate to the TiviMate IPTV Player, but don’t select it. Rather than choosing it, press the options button on your FireStick remote.
3. The ‘Move‘ option will be available on the right side. please select it.
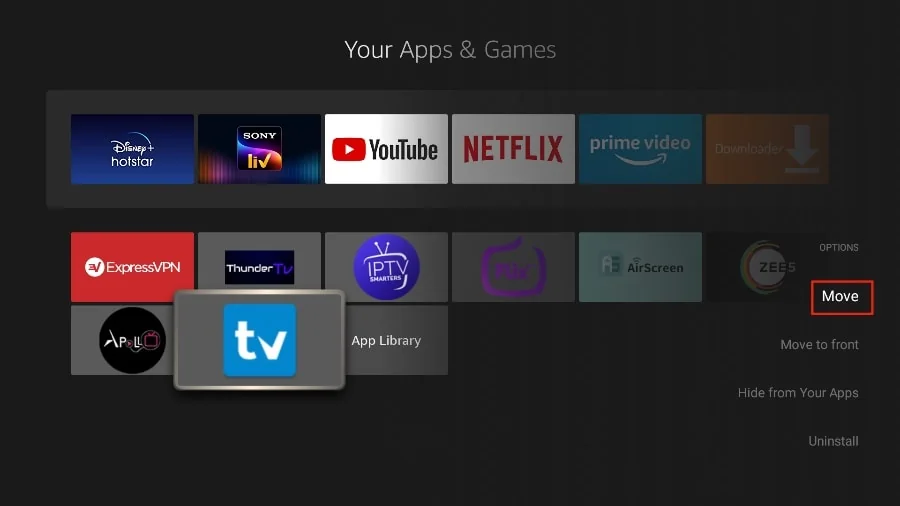
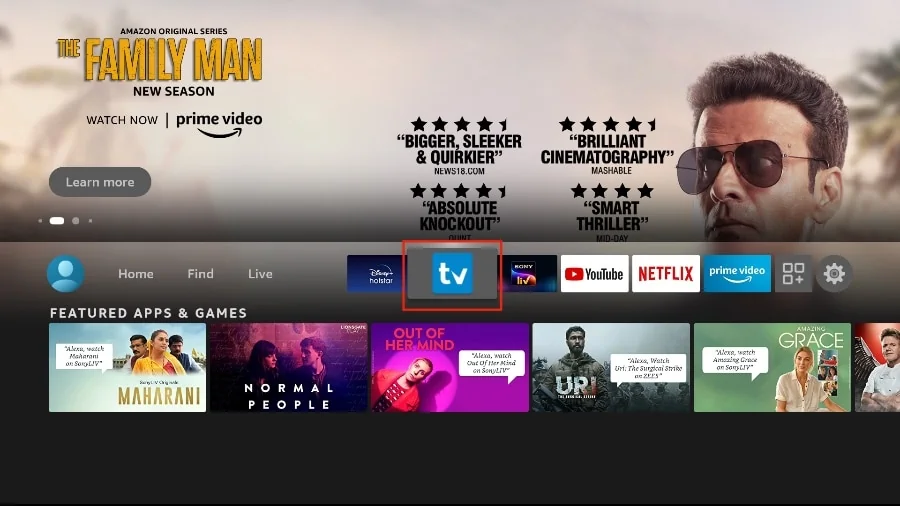
4. Relocate TiviMate to the top row, and then confirm the new position by pressing the select button on your remote.
5. Now, accessing the TiviMate Player from your FireStick home screen has become more convenient. There’s no longer a need to navigate through a menu each time.
IMPORTANT NOTE: It has been observed that the setup will not function if your VPN is activated. Ensure that your VPN is turned OFF before integrating your IPTV Service with this app.
Once the setup is finalized, you can connect to your VPN for secure streaming.
Follow the steps below to configure the Free version with your chosen IPTV Service:
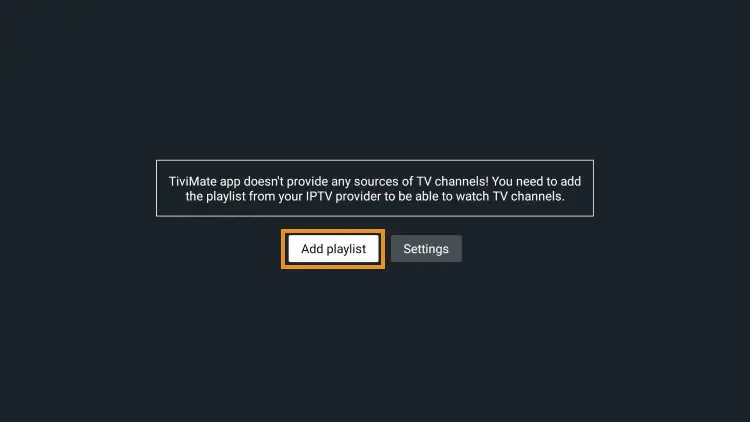
1. Launch the TiviMate App and select ‘Add Playlist’.
2. Select M3U Playlist or Xtream Codes.
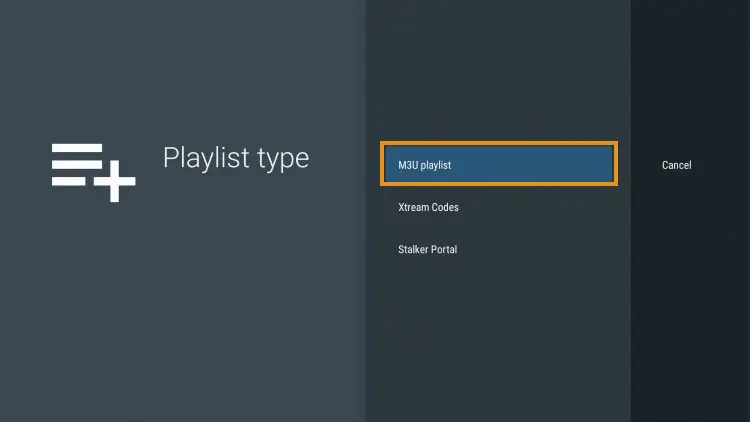
In this guide, we will utilize an M3U link to operate an IPTV service within the TiviMate app. Upon subscribing to an IPTV service, you should receive an email containing essential login details along with an M3U link. If you don’t receive an M3U link, consider reaching out to customer support and asking for one.
Typically, M3U links come with embedded usernames and passwords, appearing somewhat like this: http://webtvplus.com:8080/get.php?username=test-65927c&password=e657&type=m3u_plus&output=ts
Having identified your M3U link, we can now move forward with the integration process.
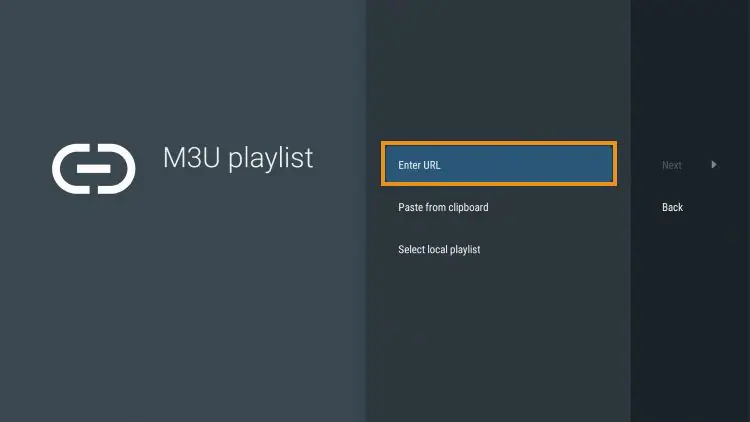
3. Click Enter URL.
4. Input the M3U URL that was sent to your email.
In this guide, we will be utilizing the complimentary WebTV Plus M3U URL, which offers access to hundreds of free live channels.
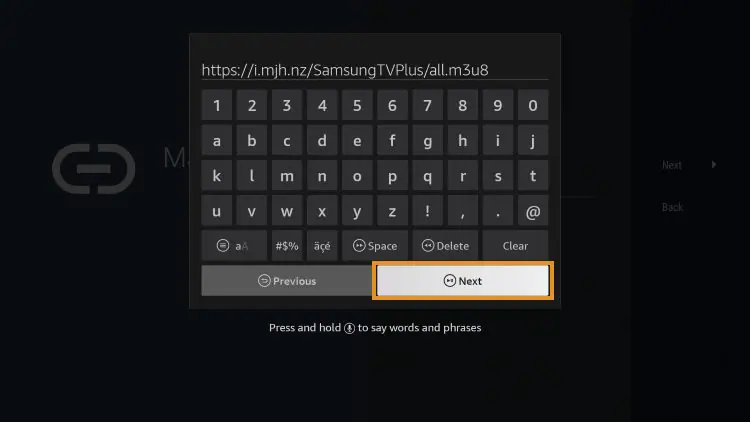
5. Click Next.
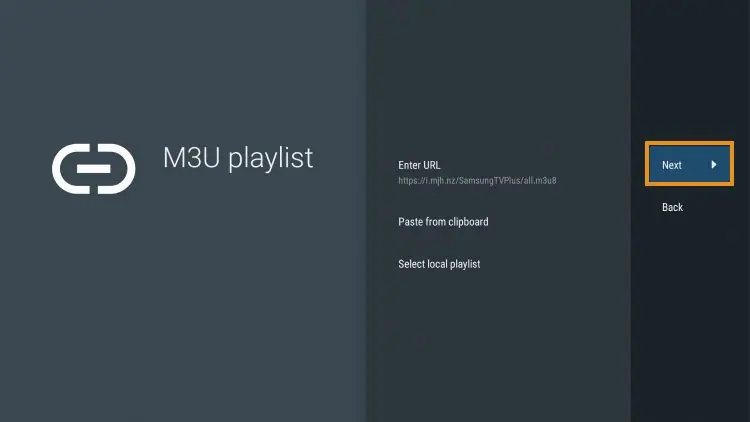
6. A message will appear indicating that the Playlist is processed, displaying the Channel count and your Playlist name. Click ‘Next’.

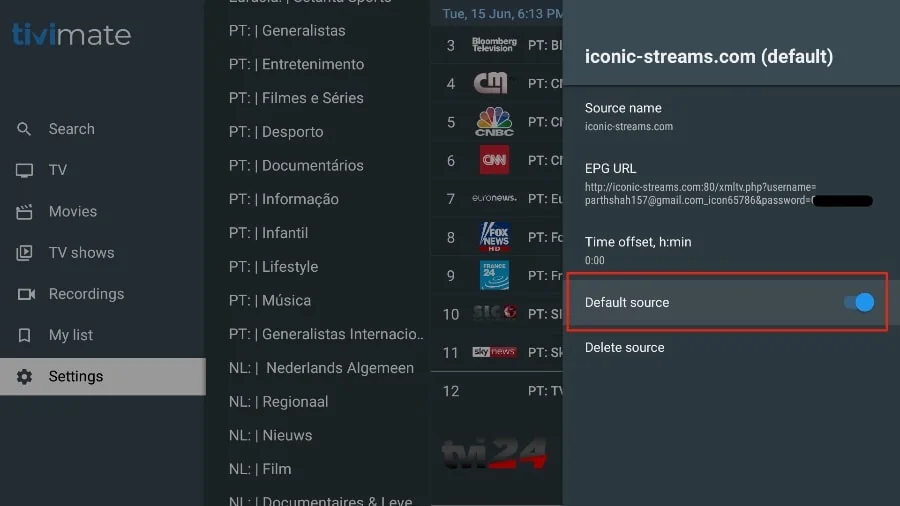
7. If the EPG URL doesn’t import automatically, you have the option to manually enter it here.
NOTE: Most IPTV Services offer a distinct M3U URL dedicated to your EPG. Click ‘Done’.
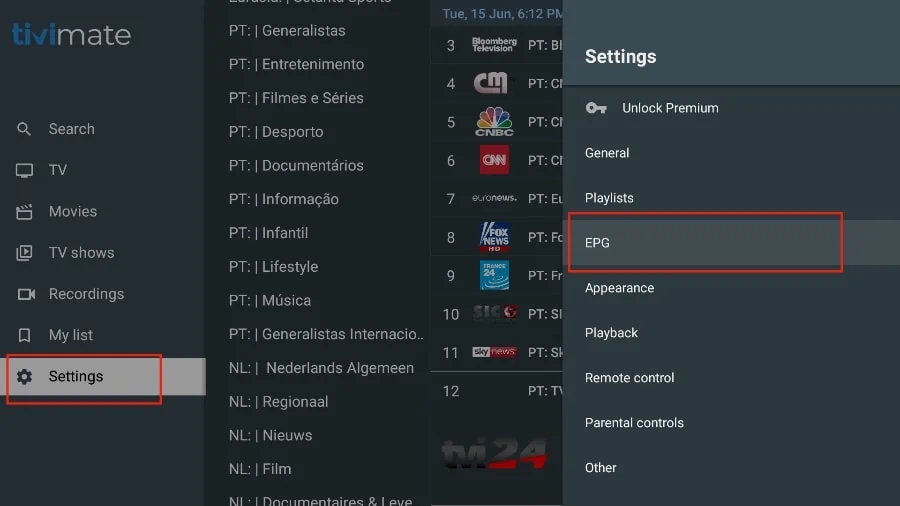
If you don’t see an EPG enabled in the TiviMate app, consider enabling it in the app’s Settings.
8. Choose Your Playlist.
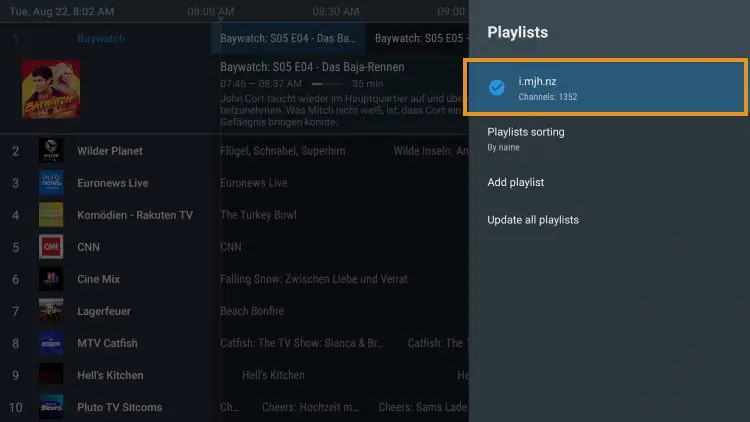
9. Click OK.
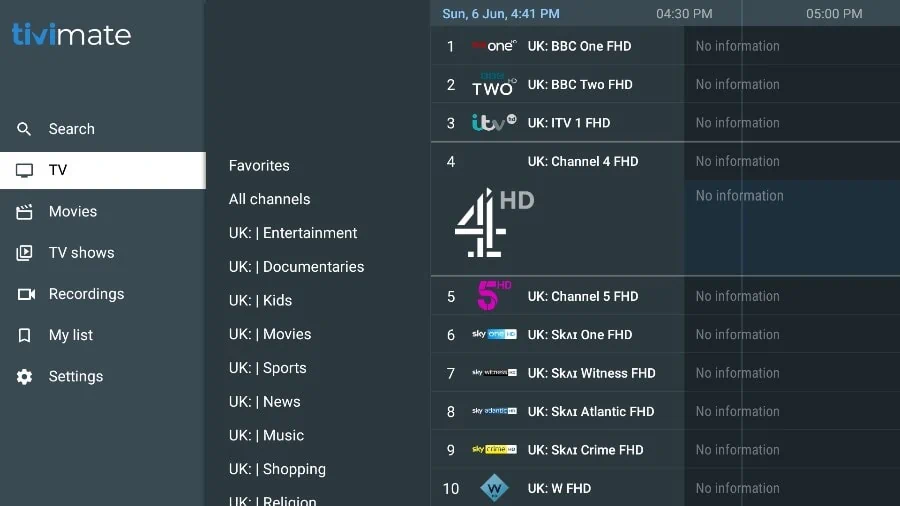
10. TV Guide will import and you will be able to start viewing!
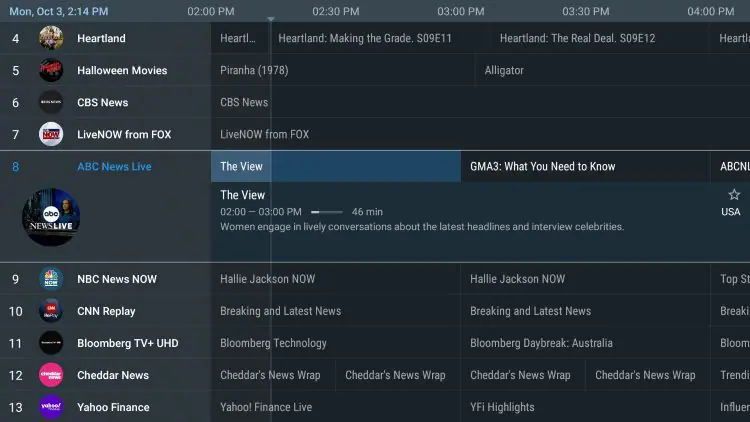
It’s essential to highlight that choosing to use the Free version of the app will result in missing out on numerous exceptional features.
For instance, attempting to add a channel or multiple channels to favorites will trigger the following message:
TiviMate Premium is priced at just $9.99/year, with an option for a lifetime subscription available for $29.99.
This subscription covers up to 5 devices, which can be managed using the Companion App.
Before activating Premium, users need to create an account via the Companion App.
Please note that this app is exclusively accessible through the Google Play Store and must be installed on an Android device or via BlueStacks or another Android emulator.
If you do not have an Android phone or device, you will need to install the BlueStacks emulator on your PC to access the Google Play Store.
Note: If you are utilizing a standard Android TV Box with stock Android, you can easily install the Companion app via the Google Play Store. However, devices operating on the genuine Android TV system like NVIDIA SHIELD do not come pre-installed with this app. In such cases, you will have to create an account using an Android phone, or tablet, or through BlueStacks.
Once installed, use the instructions below to set up a Premium Account.
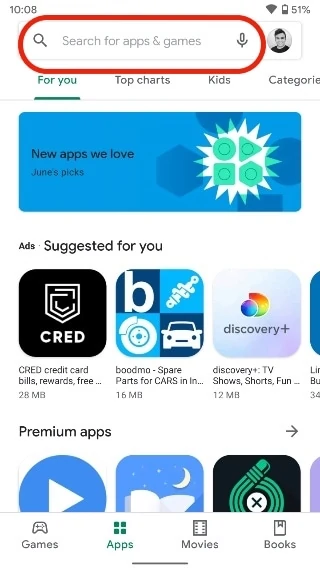
1. Launch the Play Store on your Android device. Tap the search bar at the top and look for TiviMate Companion.
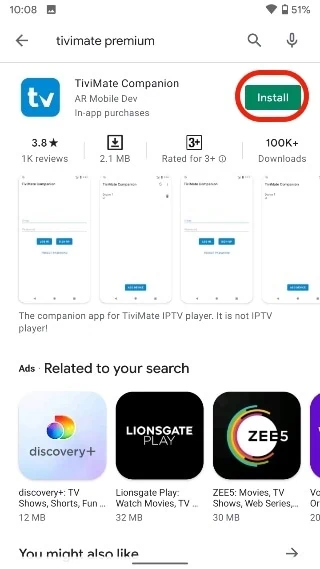
2. Download and install the TiviMate Companion application on your device.
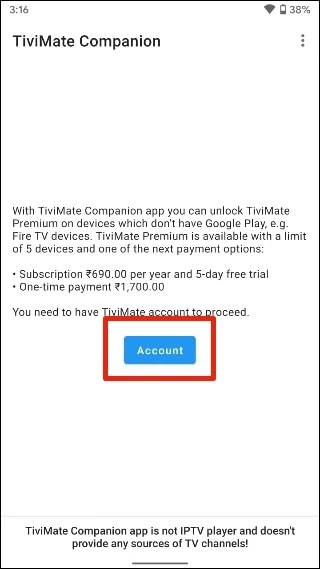
3. Launch the application. It will prompt you to create an account. Select the “Account” button.
4. Choose “Sign up” and proceed with the steps to create an account.
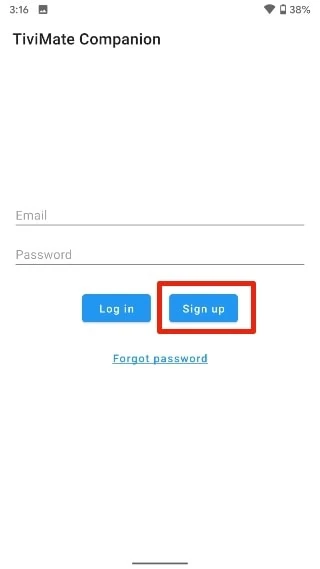
5. Log in with your account details. You can proceed to purchase a one-year subscription using a credit or debit card.
Before proceeding, ensure that you save your TiviMate login information in a secure location or consider saving it in a password manager.
Now that you have bought TiviMate Premium using an Android device, it’s time to activate the premium subscription on your FireStick to enjoy a seamless IPTV experience. Follow the steps below.
1. Open the TiviMate app on your FireStick.

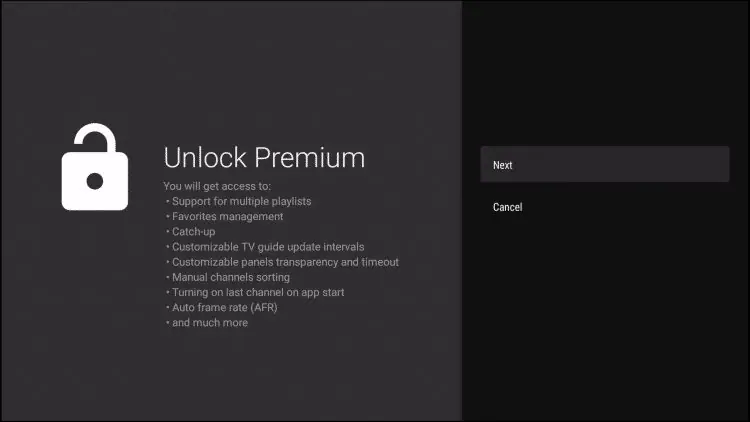
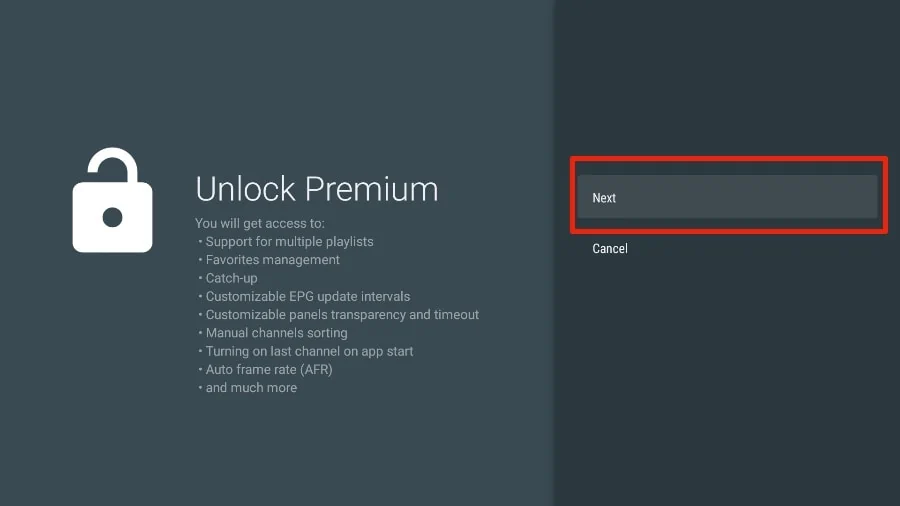
2. As soon as you attempt to utilize any of the premium features, TiviMate will prompt you to unlock the feature by subscribing. Review all the premium features and click the Next button.
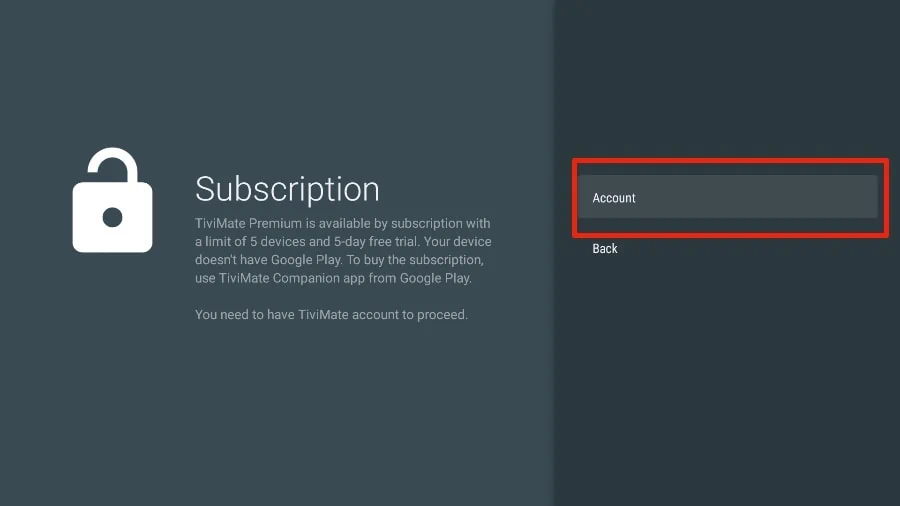
3. The next screen will request you to purchase TiviMate Premium using the Android TiviMate Companion app. Since you have already completed this step, click on the Account button.
4. Add your TiviMate account Email and Password and click on Log in.
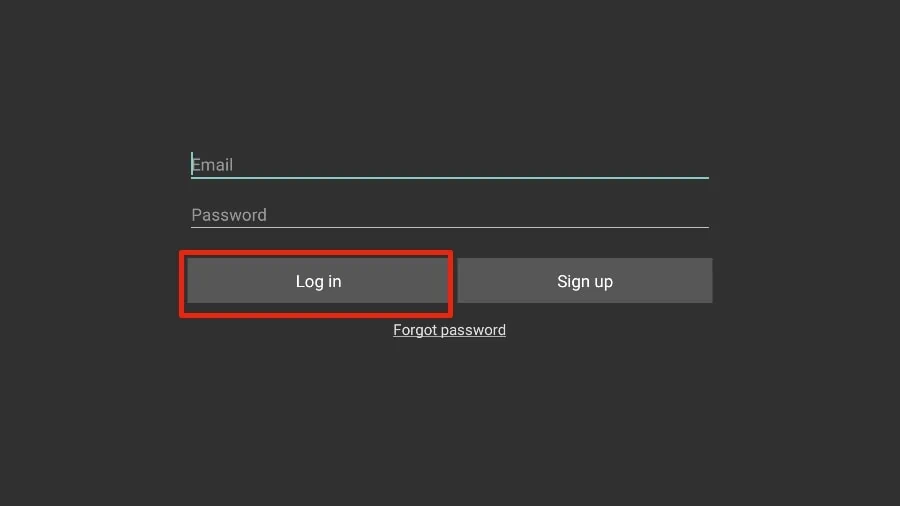
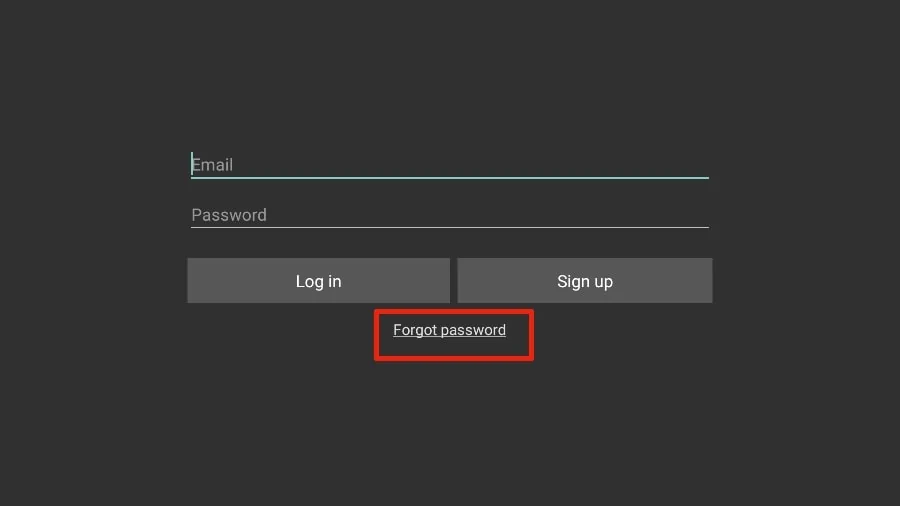
5. If you can’t recall your password, select the Forgot Password button at the bottom. TiviMate will send you a password reset link to your registered email ID. Reset your password and attempt to log in using the updated account credentials.
There you have it! TiviMate Premium is now successfully activated on FireStick. You can now delight in all the features of the TiviMate IPTV player with your preferred IPTV provider.
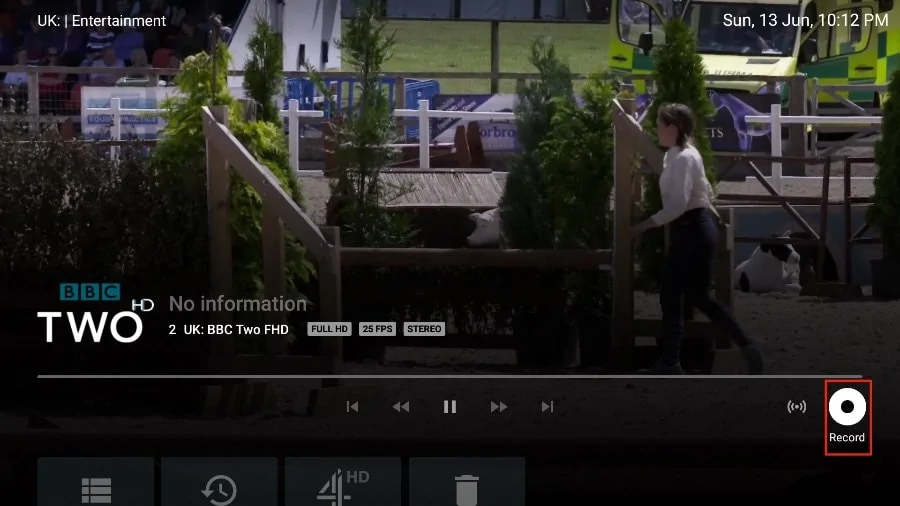
The TiviMate IPTV Player enables users to record content for later viewing. If you find yourself pressed for time and wish to watch something at your convenience, simply tap the Record button in the video player. You can access your recorded content later from the Recordings tab on the home screen of the TiviMate app.
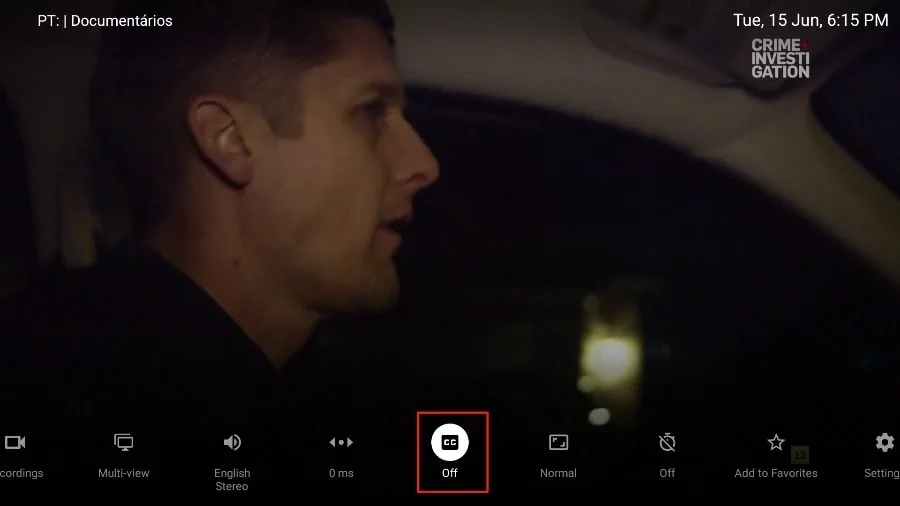
This feature is particularly handy when you’re watching content in a language other than your own. In the player menu, just tap the CC (closed captions) button and enable subtitles from the sliding menu.
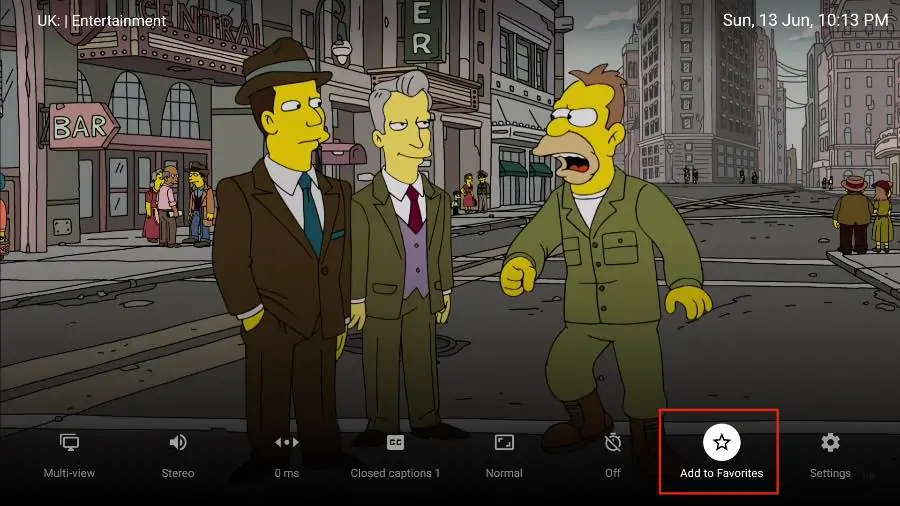
There are several methods to add a channel to your favorites in the TiviMate Player app. Our preferred approach is using the “Add to Favorites” button within the video player.
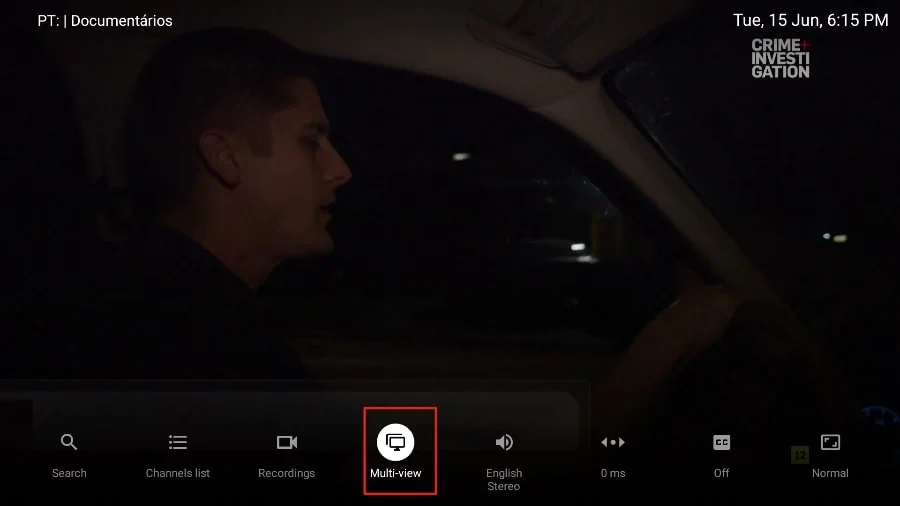
If you wish to view multiple channels simultaneously, TiviMate offers an option for that too. From the player menu, you can choose Multi-view and select another channel to view two channels simultaneously.
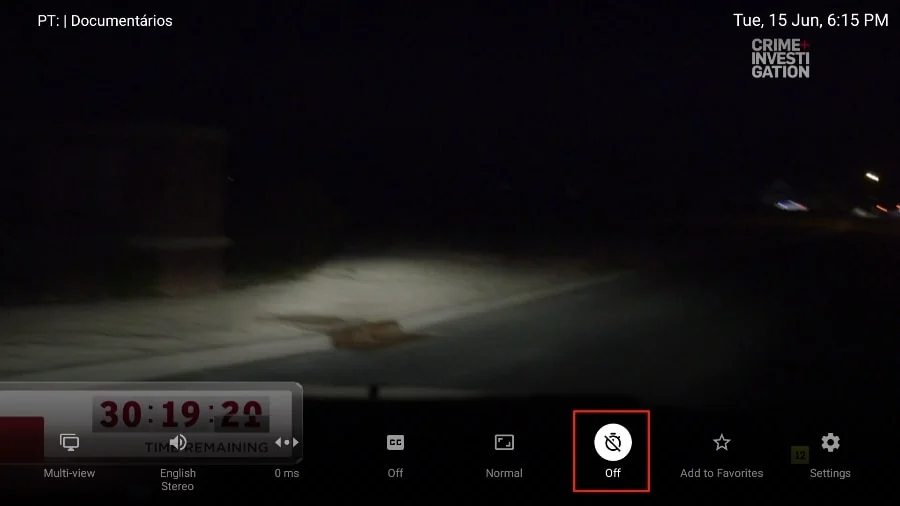
This is an essential feature for any IPTV app. A sleep timer automatically turns off the app after a specified period. It’s great to see the sleep timer integrated directly into the player menu. Simply tap the stopwatch icon on the video player screen and choose the desired time from the menu on the right side.
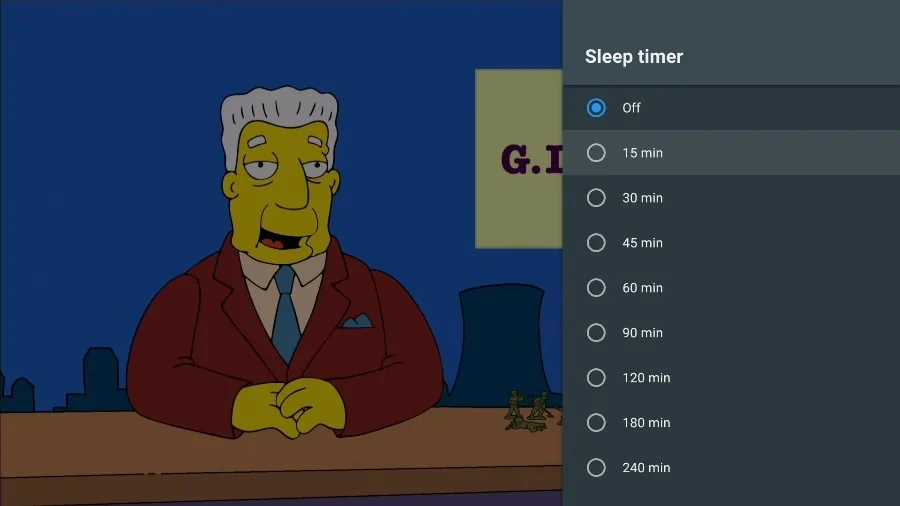
Users can conveniently set the TiviMate app to sleep mode for a duration ranging from 15 minutes to 240 minutes. This feature can be particularly handy, especially when children are watching TV before bedtime. You can set a timer for thirty minutes and have the app shut down automatically.
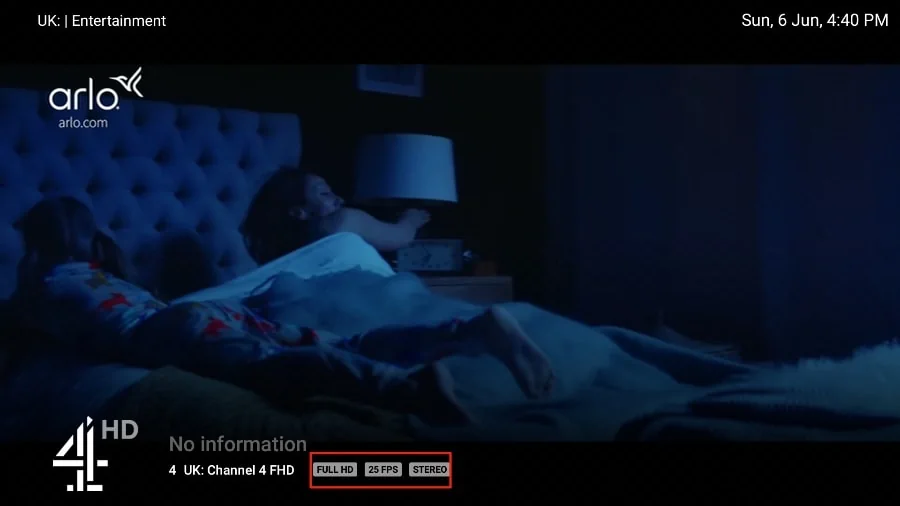
By default, the TiviMate Player offers details on video quality, number of frames per second (FPS), and sound quality.
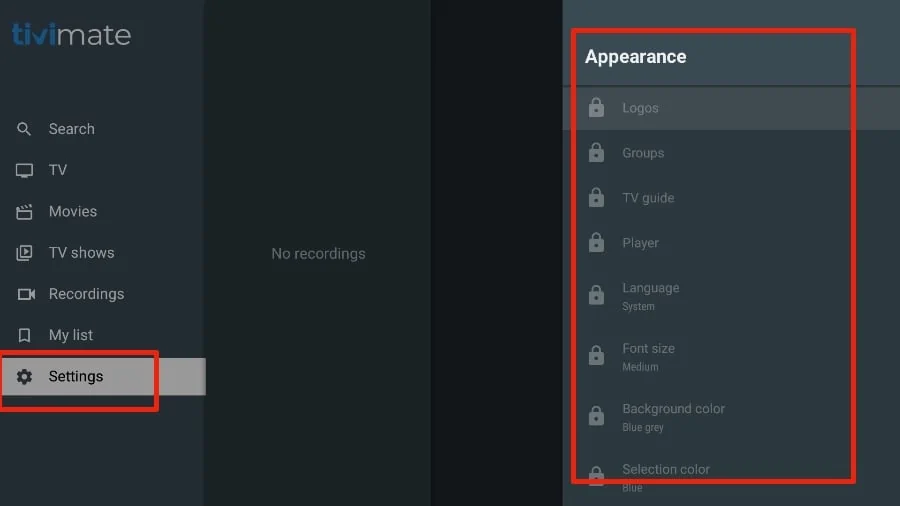
If you’re not a fan of the default appearance and theme of the TiviMate app, you can easily customize various aspects of its current look, such as the TV guide, font size, background color, and selection color, by navigating to Settings.
The list above only scratches the surface of what the TiviMate app has to offer. With the premium subscription, you can unlock dozens of useful features within the app. For more comprehensive details, refer to the TiviMate overview section in the article.